Creating a New Geofence
Updated:
The Creating a New Geofence page allows you to define and configure geofences within the company. You can create geofences of different shapes, set their location and size, and categorize them based on purpose.
Accessing the Geofence Creation Page
- Navigate to the Geofences page from the main menu.
- Click the Add Geofence button to initiate the creation process.

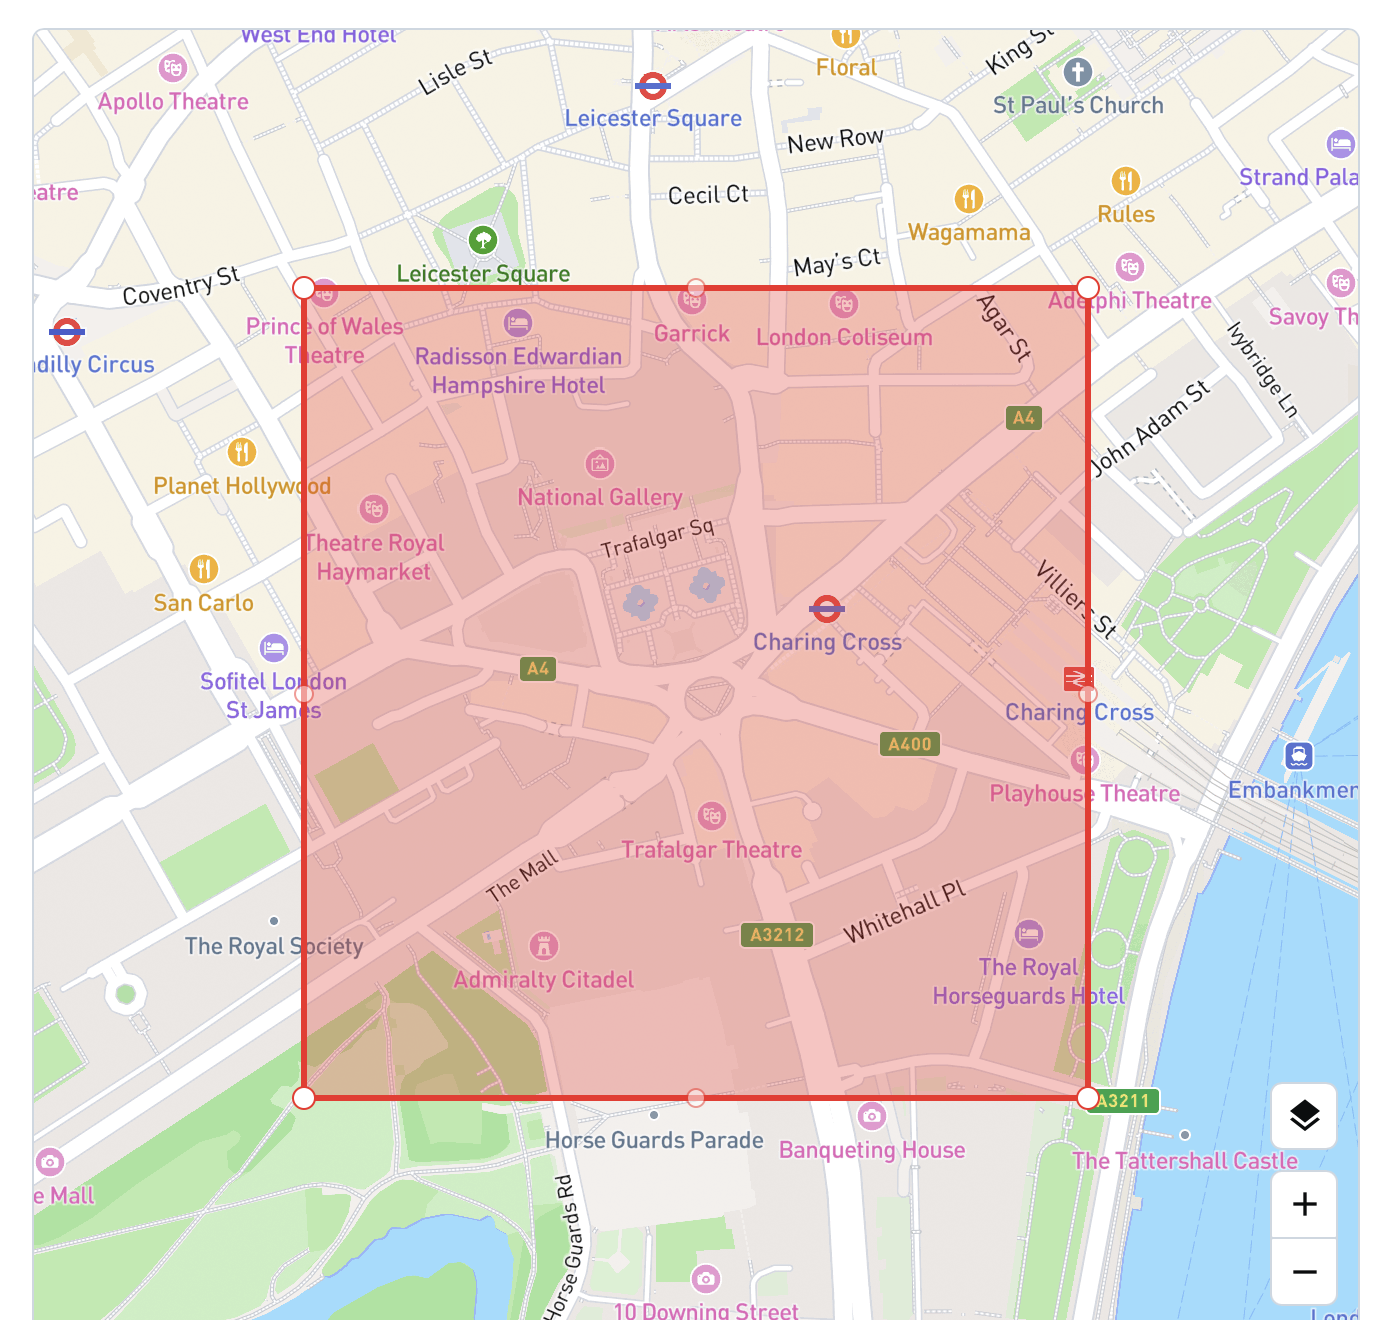
Viewing the Geofence on the Map
- Upon creation, a geofence will be overlaid on the map.
- The map defaults to the centre of the United Kingdom with a zoomed-in view.
- You can move the geofence to adjust its location.
- The geofence colour is automatically adjusted based on the selected category type.

Adjusting Geofence Shape and Location
- Circle Shape
- You can adjust the geofence radius and location by interacting directly with the map.
- Alternatively, manually update the Radius, Latitude, and Longitude fields, which will update the map display accordingly.
- The Radius field is required for circle-shaped geofences.
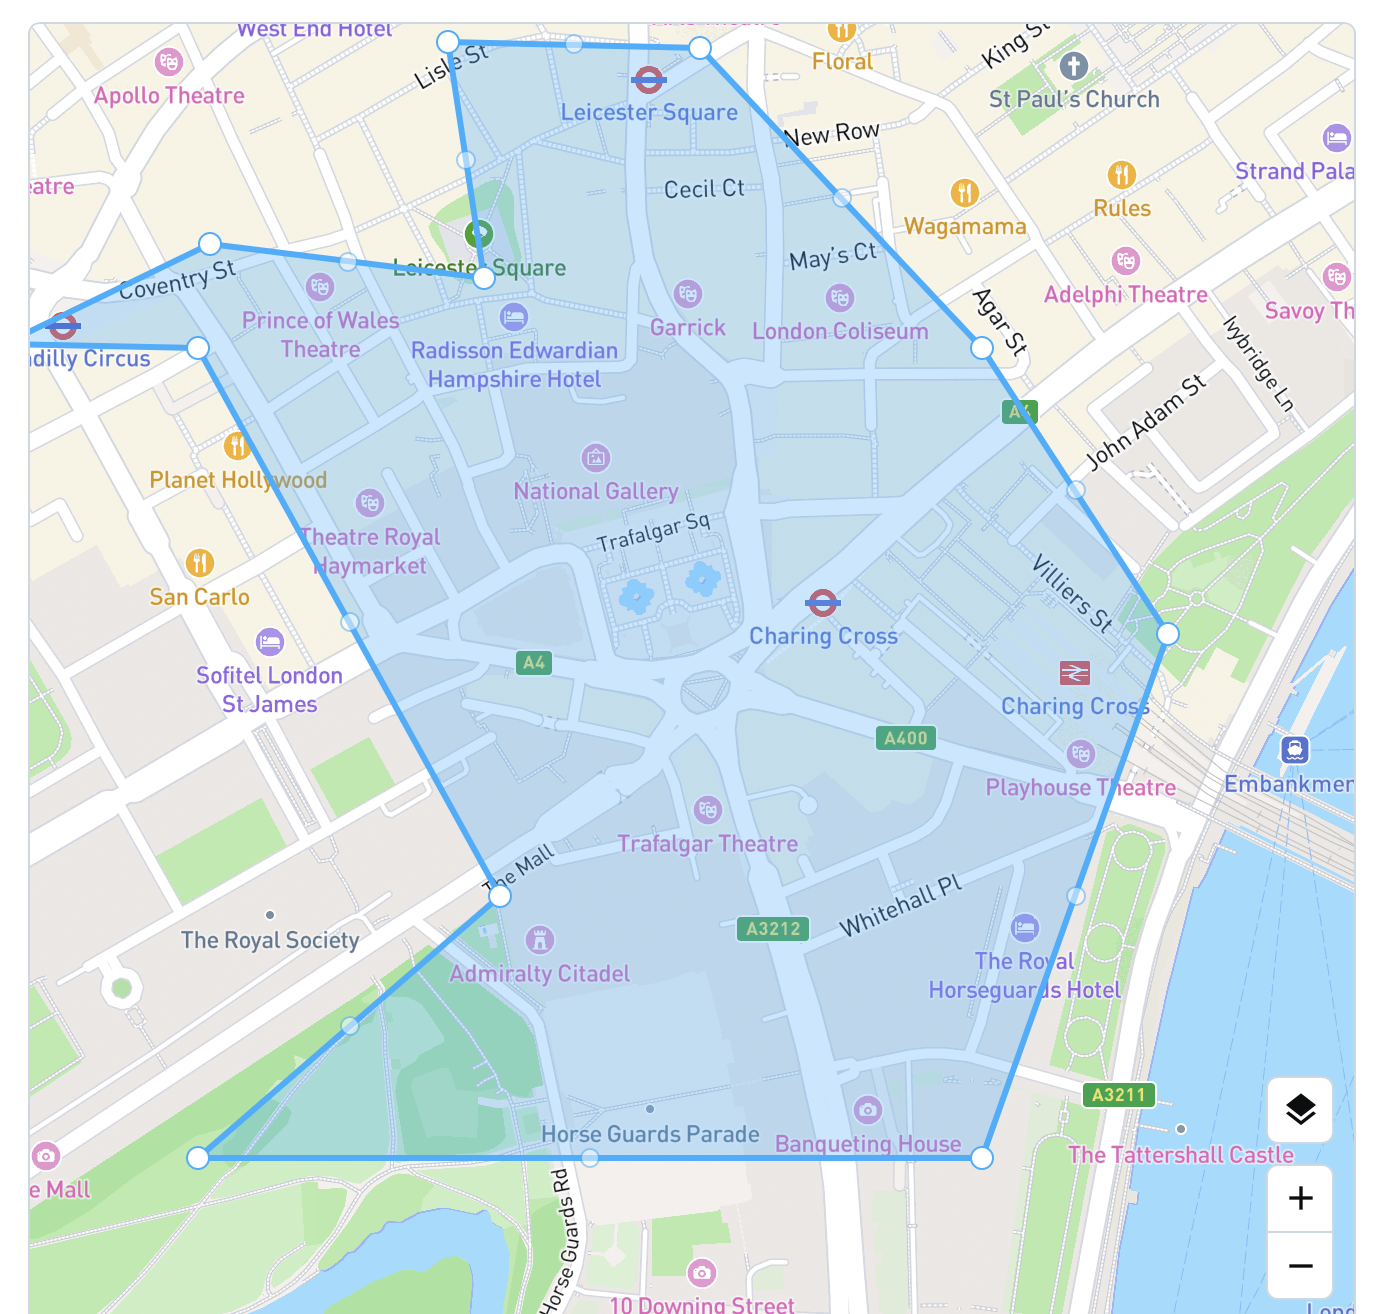
- Polygon Shape
- The default polygon shape is a square with four vertices.
- You can add and remove vertices as needed to define the desired shape.
- The polygon must have at least 4 vertices.
- There is no maximum limit for the number of vertices.
- Adjust the polygon perimeter and location directly on the map.
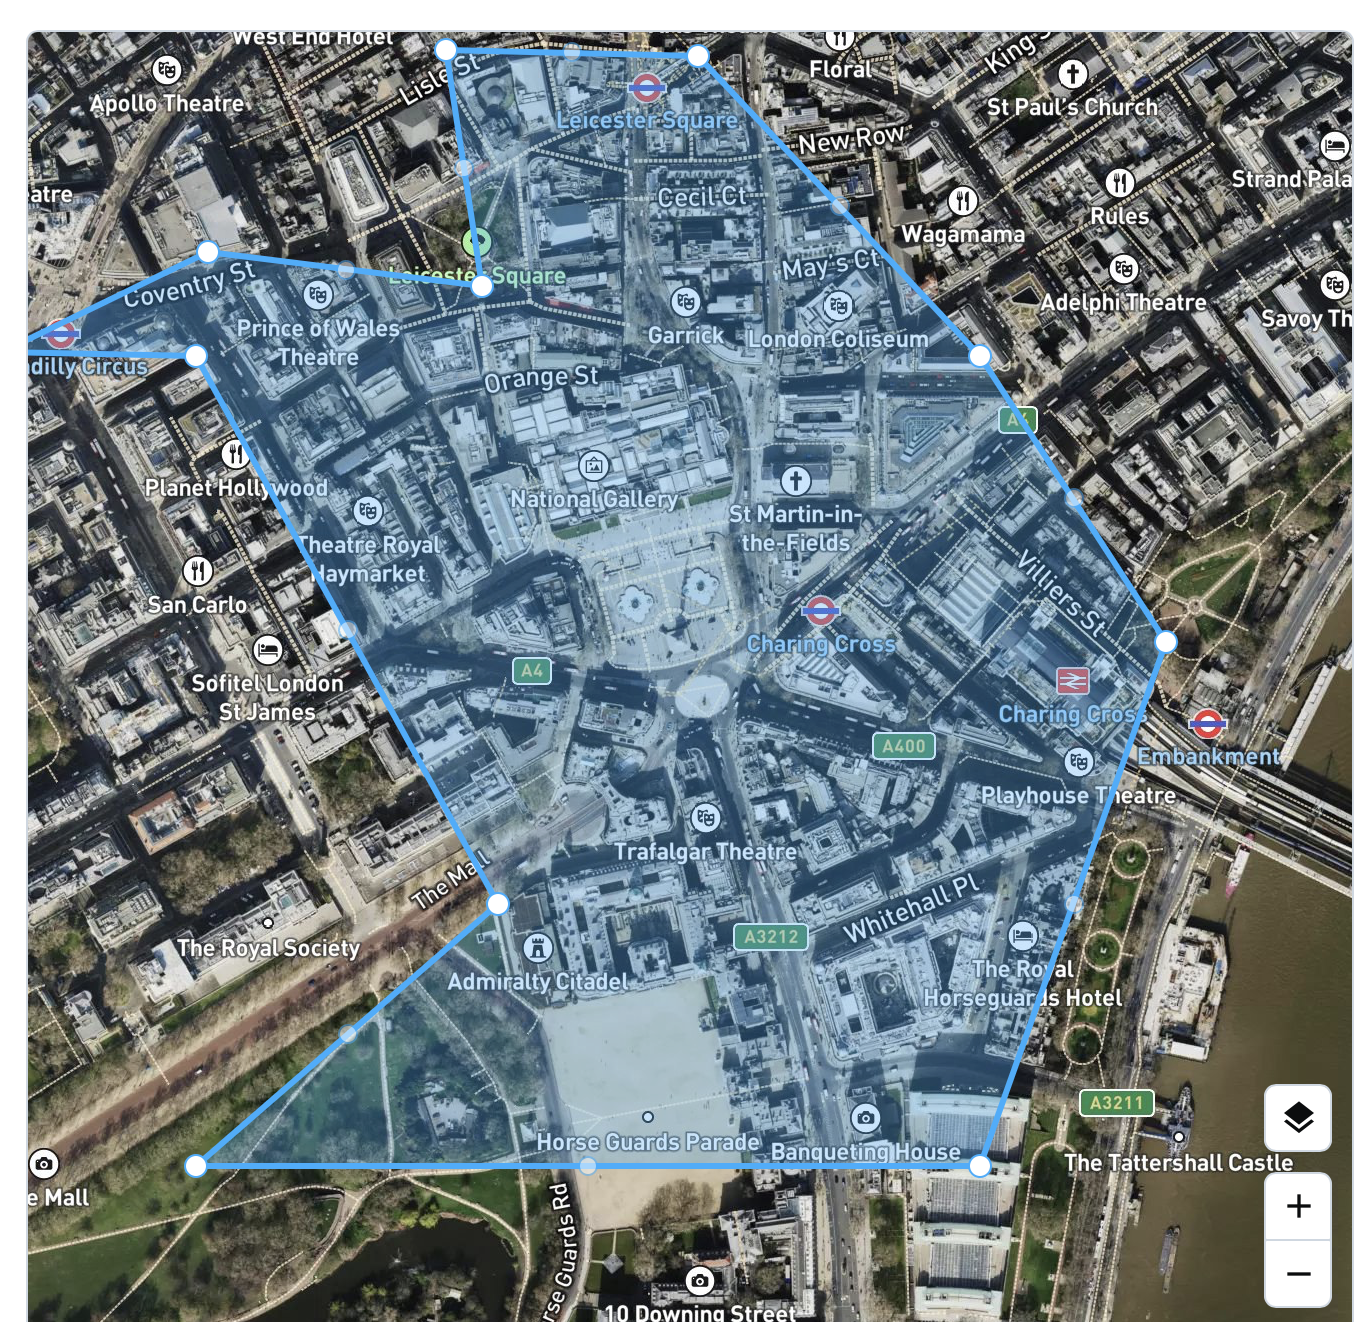
Navigating the Map
- Use zoom in/out controls to get a better view of the area.
- Switch between standard (default) and satellite modes.
- If you enter a postcode, the map will automatically pan and centre on the location corresponding to the entered postcode.
- If the postcode is invalid, the map will remain unchanged.
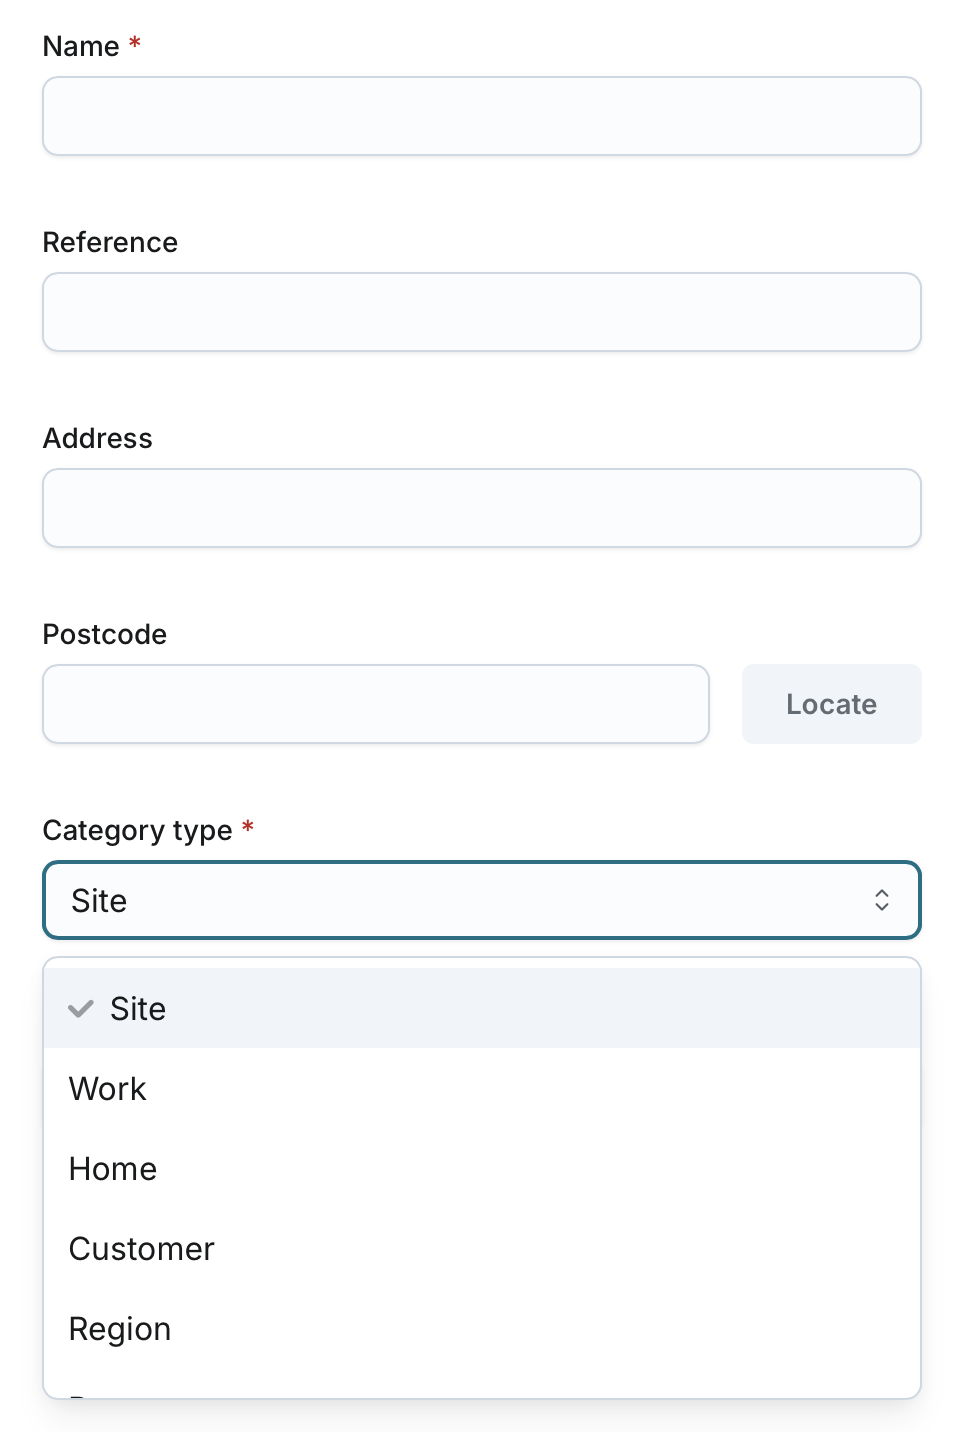
Configuring Geofence Details
- Name (Required): Enter a unique name for the geofence (2-50 characters).
- Reference (Optional): Enter a reference note (2-50 characters).
- Address (Optional): Enter the address associated with the geofence (5-200 characters).
- Postcode (Optional): Enter the postcode for location assistance (3-10 characters).
- Category Type (Required): Select one of the following options:
- Site
- Work
- Home
- Customer
- Region
- Payzone
- Shape (Required): Choose either Circle or Polygon.
- Radius (Required for Circle): Set the radius of the circle.
- Latitude (Required for Circle): Enter the latitude coordinate.
- Longitude (Required for Circle): Enter the longitude coordinate.
Saving the Geofence
- Click Save to store the new geofence configuration.
- The geofence will be added under the company and displayed on the Geofences list page.
- By creating a geofence, it will be added on the Fleet page, including both the Live Assets Map and Historic Journeys Map.
