Creating a New User
Updated:
Follow these steps to create a new user in the application:
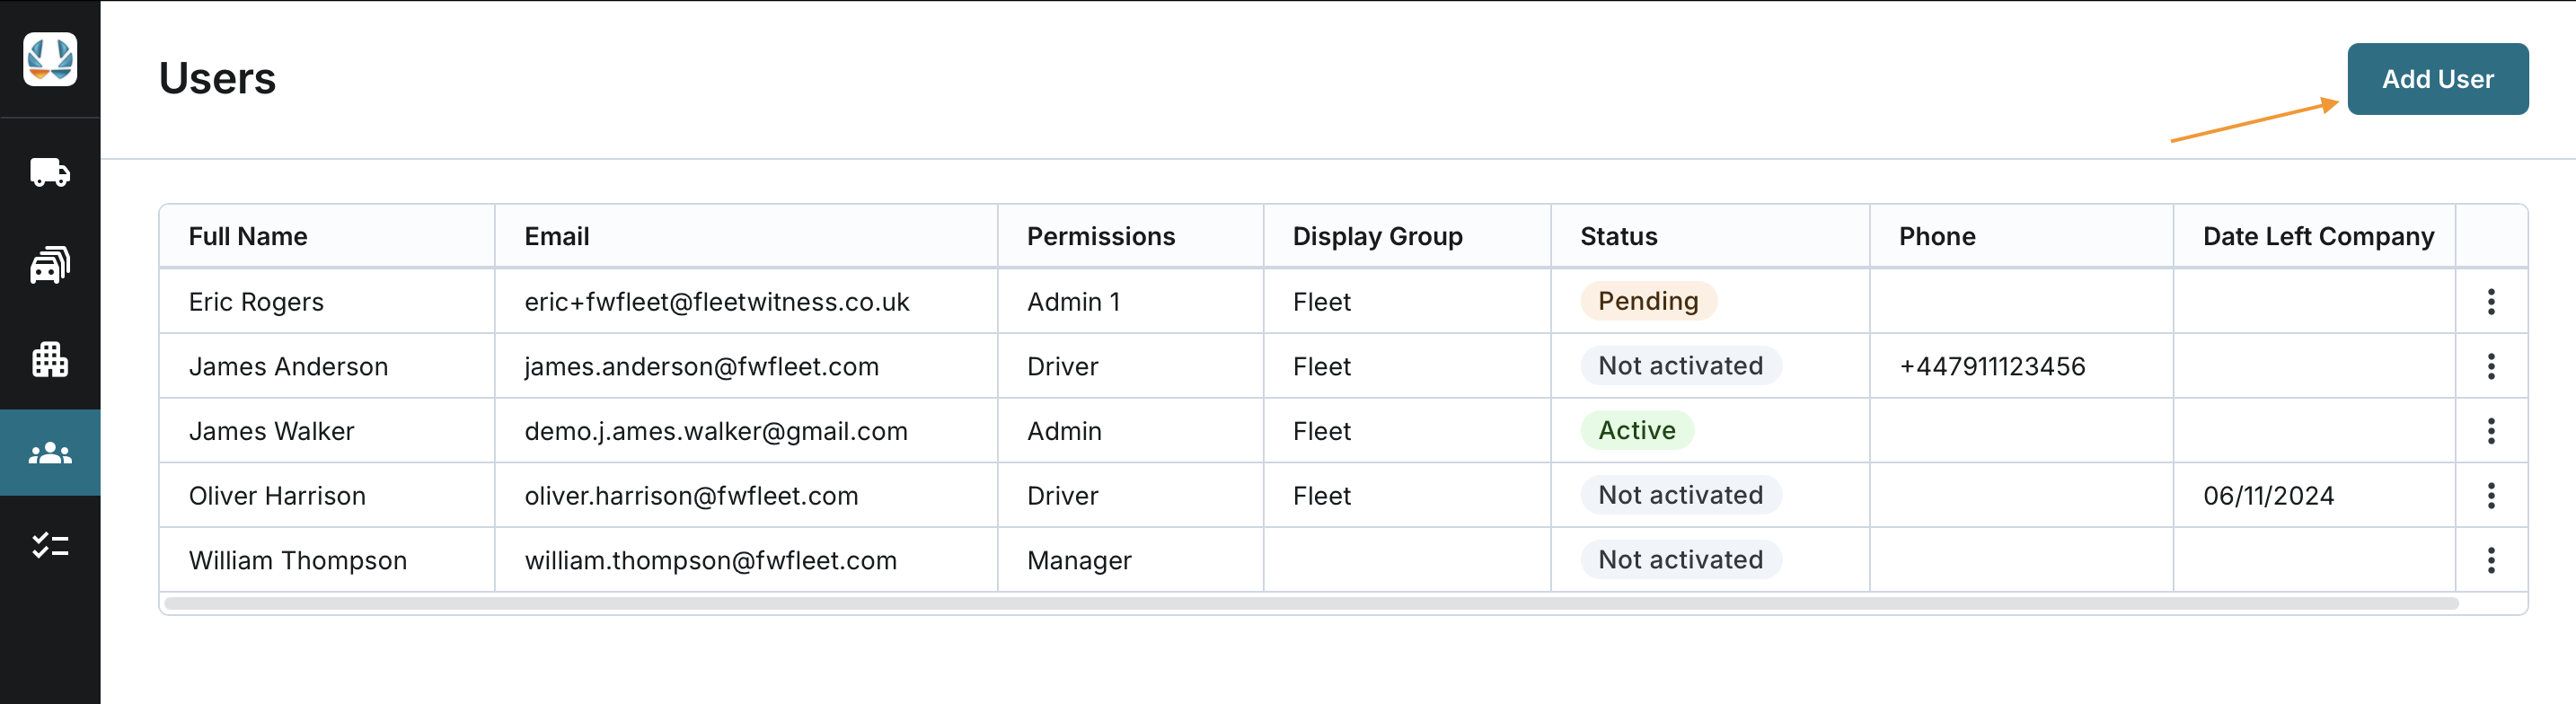
Access Users
- Navigate to the Users section of the application.
- Click the Add User button.
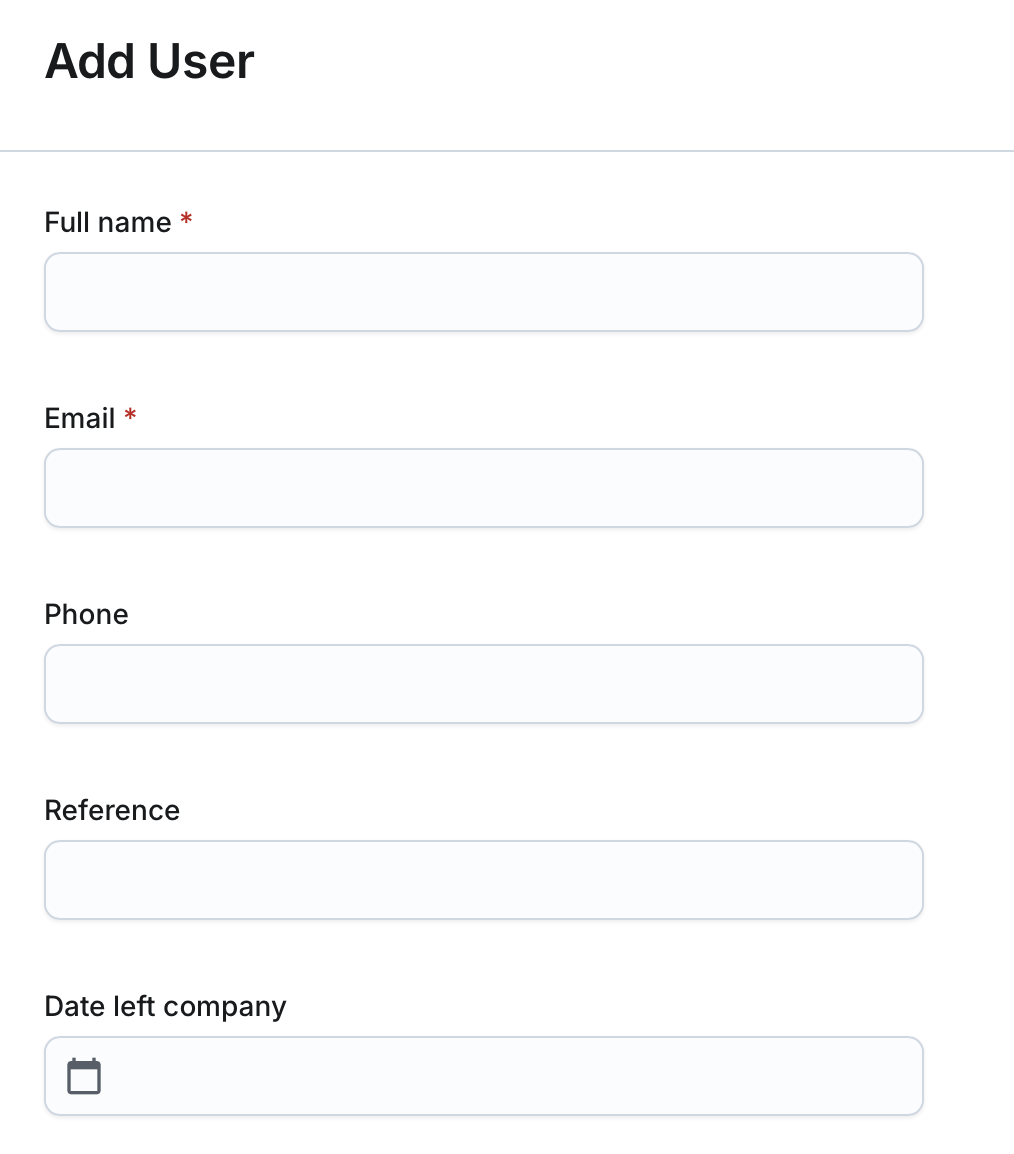
Enter User Information
Fill in the required details:
- Full Name (Required): Enter the user's full name (2-50 characters).
- Email (Required): Enter a unique email address for the user.
- Phone (Optional): Provide a contact number (10-15 characters).
- Reference (Optional): Add any reference notes (2-50 characters).
- Date Left Company (Optional): Record the date the user left the company, if applicable.
Set Visibility Restrictions
- Display Group (Either Display Group or Limit Visible Assets is Required): Assign one or more display groups to the user. If you do not have the "SeeDisplayGroupsPage" permission, this list will be blank.
- Limit Visible Assets (Either Display Group or Limit Visible Assets is Required): Check this option if the user should be restricted to specific assets rather than a display group. This option is disabled if you do not have "SeeDisplayGroupsPage" permission.
- View the list of assets, sorted by Display Group Name.
- The list includes Name, Reference, and Display Group for each asset.
- No assets are selected by default.
- Select individual assets, or use the Select/Unselect All option to apply changes across all assets.


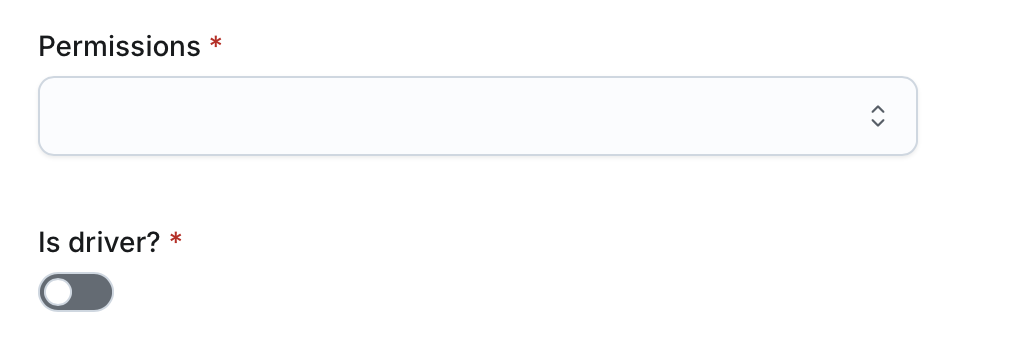
Assign Permissions and Roles
- Permissions (Required): Assign the appropriate permissions for the user.
- Is Driver? (Required): Check this box if the user is a driver.
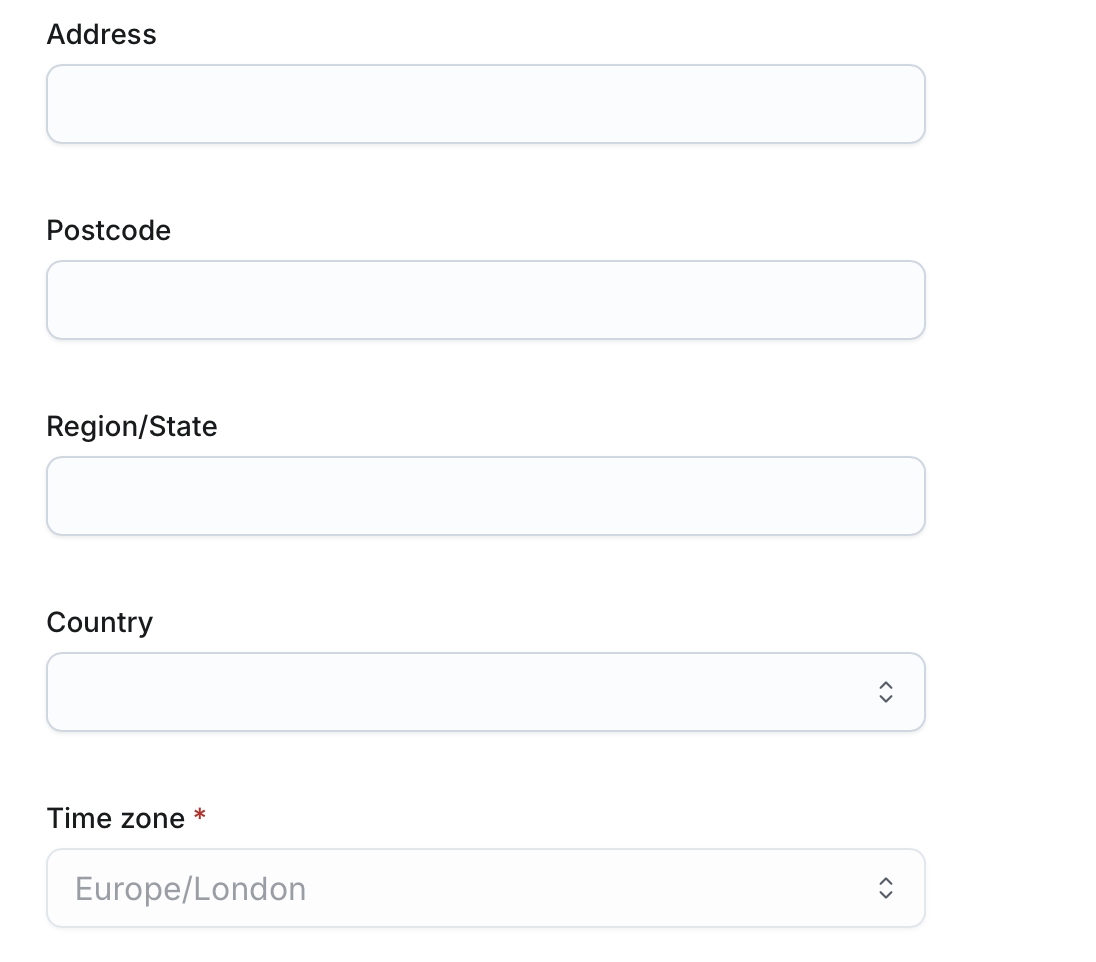
Enter Address Information
- Address (Optional): Enter the user's address (5-200 characters).
- Postcode (Optional): Provide the postcode (3-10 characters).
- Region/State (Optional): Indicate the region or state (2-50 characters).
- Country (Optional): Specify the country.
- Time Zone (Required): This defaults to Europe/London and cannot be updated at this time.
Save the User
- Click Save to add the user.
- The new user is added to the system with a status of Not Activated.
